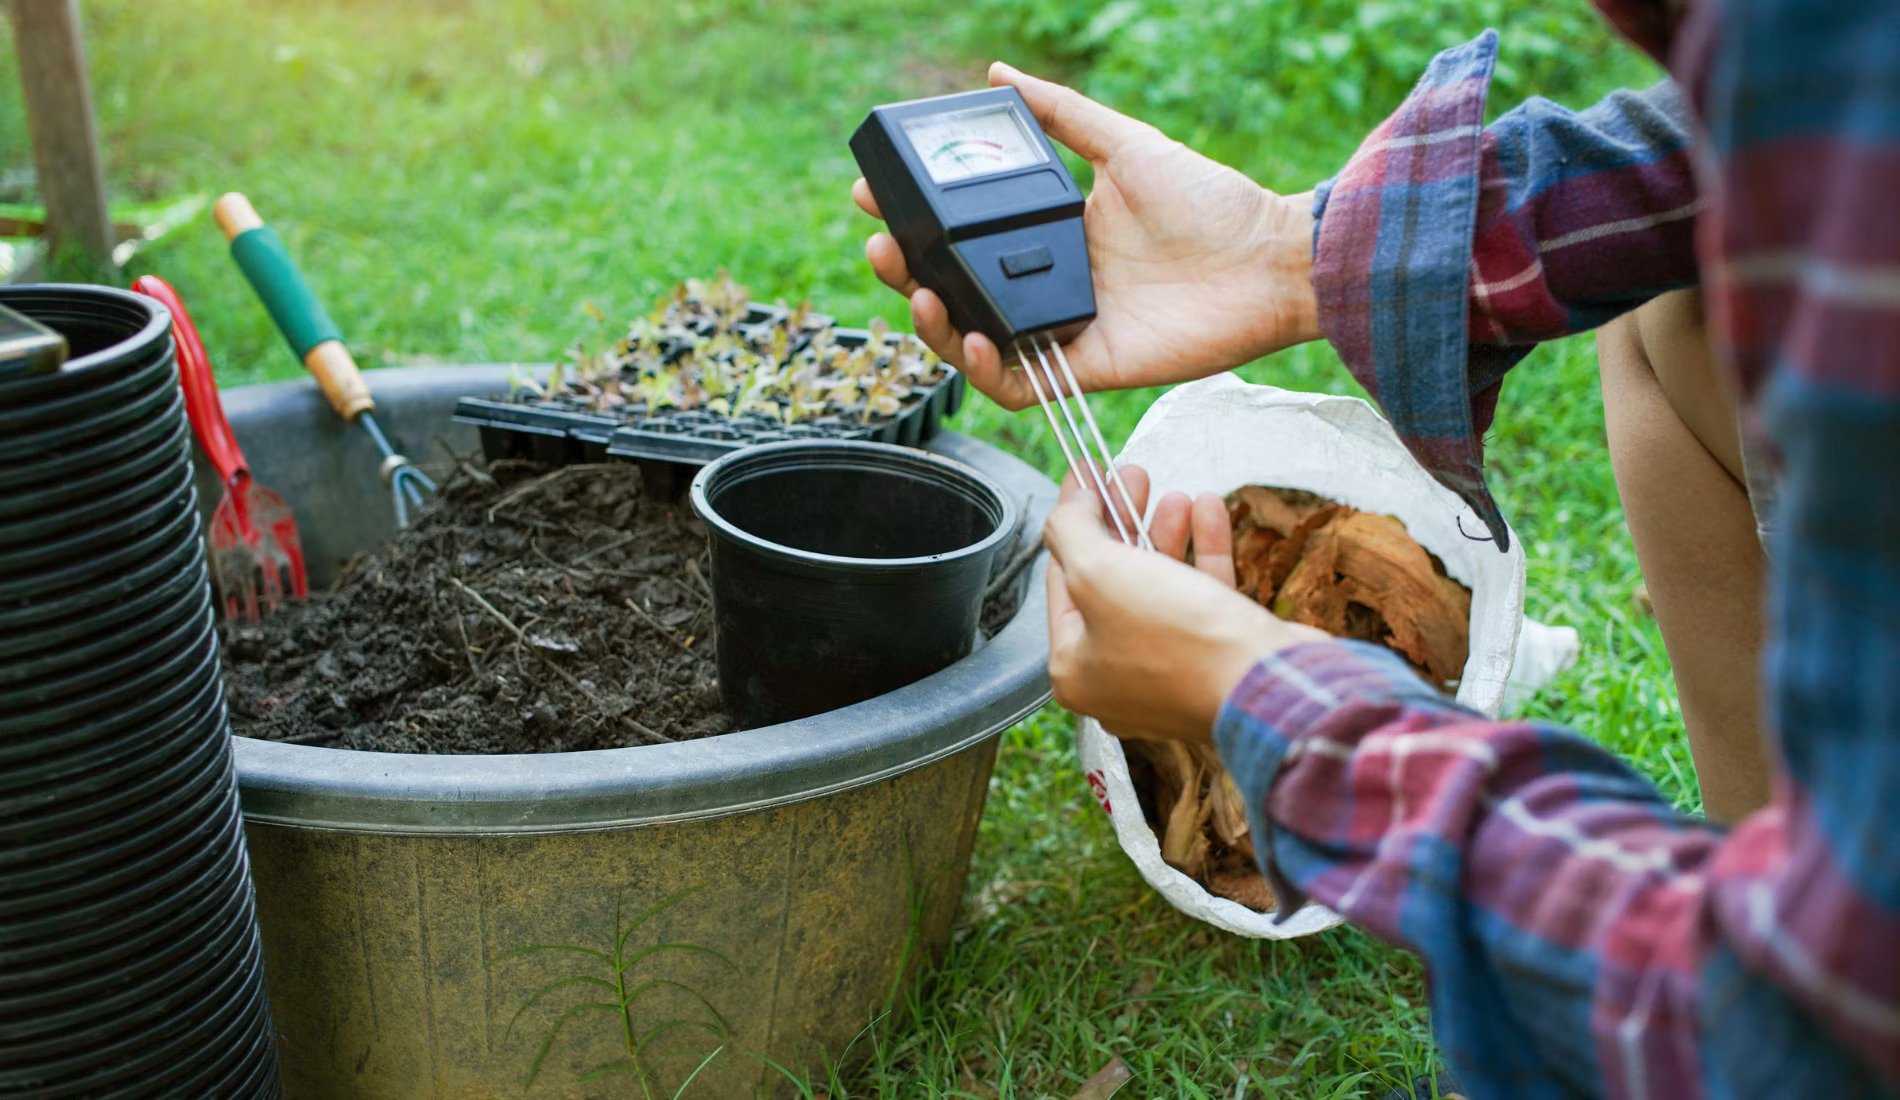
If you are a gardener, you need to understand your soil. The soil pH measures the level of acidity or alkalinity in the soil and determines the type of plants you can grow. Check out how to test soil pH with and without a kit.
Experts suggest that the best soil pH level for vegetables is between 5.8 to 6.5 (slightly acidic). The pH scale reads from 0 to 14. 0 is acidic and 14 is alkaline. Not many crops can thrive at either of these extremes. Soils with a higher pH value are formed from acidic rocks. Over-fertilizing also results in highly acidic soils.
Very low or very high pH Levels lock up nutrients inside the soil. Plants cannot access these nutrients.
Before you prepare your garden, test your soil’s pH so that you can make amendments that are needed. You may test the pH using a commercial soil test kit or go the DIY way. Today you’ll learn how to test soil pH with and without a Kit. Also you’ll get insights into interpreting results and correcting the soil for maximum yields. It’s perfect information for a beginning gardener.
Why does soil pH matter?
Testing your soil’s pH is important for several reasons;
- You get a clear picture of the nutrients available in the soil
- Soil pH affects the biological activities in the soil
- Saves money and time
You avoid buying fertilizers and applying them to your garden needlessly. When you know what nutrient your soil lacks, you focus on providing this specific nutrient. You no longer have to buy every fertilizing agent you see in the hope that it will improve your soil’s fertility.
If the soil pH does not favor what you want to grow, you can make amendments to raise or lower this level to accommodate the plants you want to grow. This leads to higher yields.
How often do I test my soil’s pH?
Test the soil’s pH level every 3-5 years. Few chemical changes occur between 1-3 years that can drastically alter the pH level. Once 3 years have lapsed, retest the soil to see if the pH level has changed.
Here are other scenarios that may require you to test the pH level of the soil;
- When planting a new garden
- When moving to a new location
How to test ph in soil
If you are using a kit, acquire the soil pH test kit, and then follow these steps;
- Clear the spaces in your garden for sample collection
- Remove debris and dead plant matter
- Cut into the soil and remove the topsoil (about 6-8 inches deep)
- Take a sample from this soil and bag it
- Go to another random area of your garden and repeat this
- Mix the samples you have collected from the different sections of the garden
- Dry the soil
- Seal the bags once the soil is dry enough
- Pay the appropriate fees and send the sample for testing. Here is a state-by-state list of soil testing labs at cooperative extension offices in the US
How to Test Soil pH With and Without a Kit-Little Sprouts Learning
The aim is to get blended soil. Blended soil offers a better insight into the garden’s chemical composition than relying on a sample taken from one location. Do not take samples from a place where plants are burned because ash increases the alkalinity levels. Avoid collecting samples from near shrubs (such as pine) as the pine needles are acidic
Keep the soil indoors away from direct sunlight. Moisture could slightly alter the chemical composition of the soil. Do not dry the soil out under direct sunlight
Remember to put all the relevant information about the soil and your contact details in the bag to avoid mix-ups at the testing center.
Note: You will receive detailed information about your soil when you send the sample to a testing lab. You will know about the soil’s mineral content and deficiency. You will also receive advice from an expert on how to amend the soil.
Professional soil test kit
If you do not want to send the soil to the lab for an in-depth analysis, purchase a soil pH test kit from a gardening center:
- Mix the soil with distilled water in a jar
- Let the solution rest for half an hour.
- Use a coffee filter to drain the solid and capture the liquid in another container.
- Dip the pH test strip into this liquid.
- When the strip turns color, pull out the manufacturer’s packaging and compare.
- Read the figure on the color that corresponds to the color on the strip. This is the pH level of the soil.
- Repeat the process several times with other samples picked randomly from the garden to get a more accurate result.
How to test soil pH without a kit
Although the DIY methods of soil pH testing we are about to explore are not as efficient as testing with a kit, they give you a rough estimate of your soil’s chemical and physiological composition. You can use:
- Jar test method
- Earthworm test
- Fizzle test
- The cabbage water pH test
Method 1: Jar test method
- Collect soil samples from random areas of the garden
- Fill the jar halfway with the soil
- Add water
- After the soil soaks in the water, close the jar and shake it well
- Let the jar settle for up to 24 hours
Within 24 hours, sand, silt, and clay separate into three distinctive layers. Sand collects at the bottom of the jar within a few minutes. Silt follows, forming a layer on top of the sand. After 24 hours, the last layer (clay forms)
Ideally, well-balanced soil should be composed of 40% silt, 40% sand, and 20% clay. Soil with a high sand content is well-draining. Soil with a high clay and silt content does not drain well.
If the soil is too sandy add compost, manure, sawdust, or moss. If the soil is silty add coarse sand, gravel, or compost. Add coarse sand to correct clay soils.
Method 2: The fizzle test
Test 1- Alkalinity
- Add 2 tablespoonfuls of soil into a bowl
- Add half a cup of white vinegar
If the soil fizzles when you add white vinegar, it is likely to be high in alkalinity.
Test 2 – Acidity
- Add 2 tablespoonfuls of soil into a bowl
- Add half a cup of baking soda
If the soil fizzles when you add baking soda, it is likely to be high in acidity
If there is no reaction when white vinegar or baking soda is added to the soil, the soil has a neutral pH scale
Method 3: The cabbage water pH test
- Slice red cabbage into pieces
- Add the cabbage (about 1 cup) to a pan containing 2 cups of distilled water
- Simmer for about 5 minutes
- Let the mixture cool down and strain off the liquid
- Put 2 tablespoonfuls of soil into a cup
- Add the cabbage water and stir well
- Wait for 30 minutes
If the color of the soil in the mixture turns pink you have acidic soil. If the color turns green or blue, you have alkaline soil.
Method 4: The Earthworm Test method
The best time to conduct this test is during the spring season when the earth is moist and the soil warms a bit.
- Clear a specific area of your garden
- Scoop the topsoil
- Lay the soil on a flat surface
- Count the number of earthworms you can spot
If you find over ten earthworms in the soil sample, this is healthy soil with a pH scale of 5-8.
If you find less than ten earthworms, correct the soil by adding compost and other organic matter which enhances microbial activity.
How to correct soil pH
Adding limestone corrects acidic soils. Do not overuse lime as this may lower the soil’s pH too much.
Elemental sulfur, aluminum sulfate, or iron sulfate neutralize alkaline soils. Follow the manufacturer’s instructions when applying these chemicals to your soil.


